How to build URX
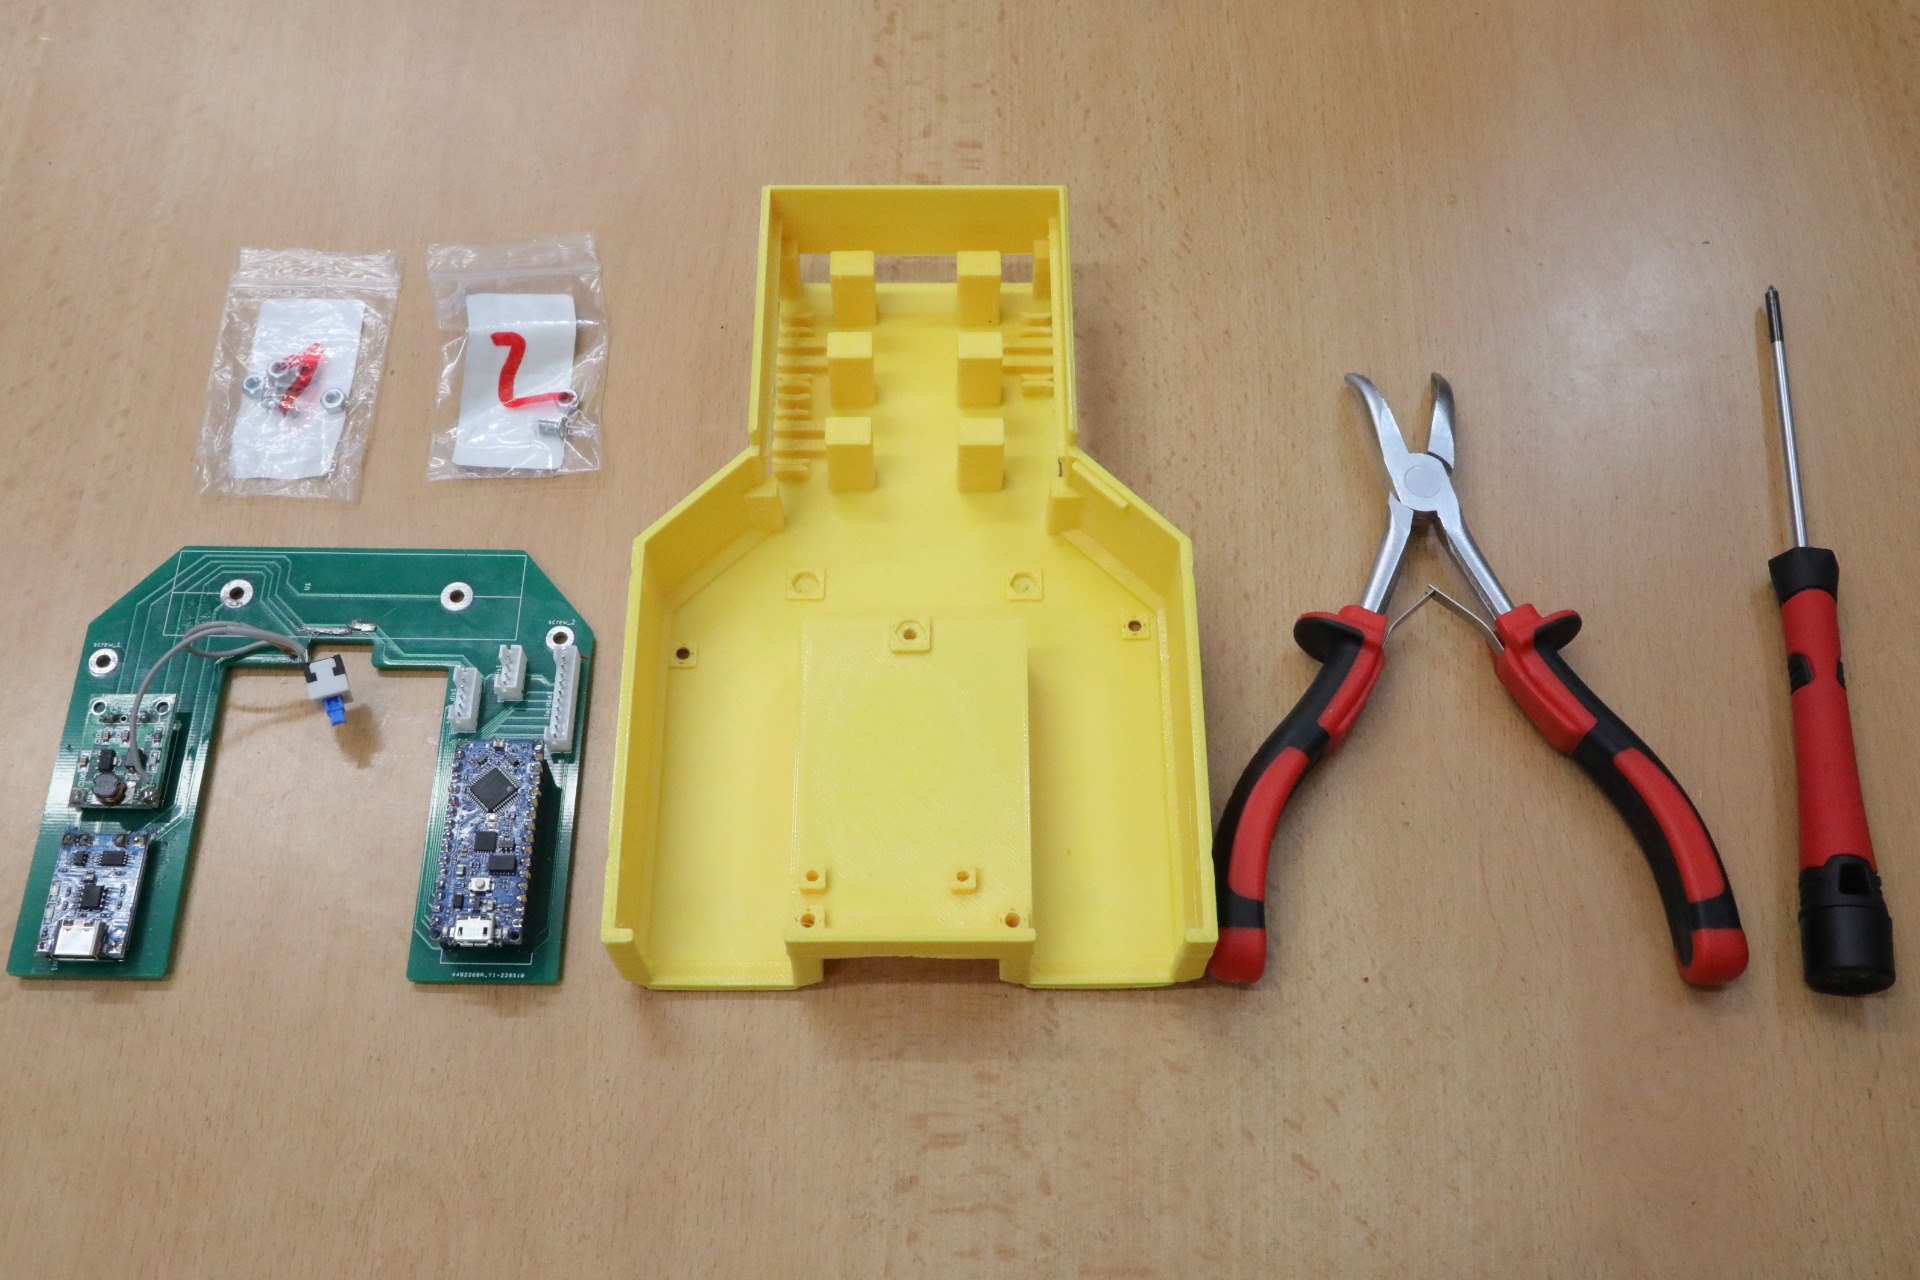
Parts
- Main board
- 16x16 display and button board
- Battery
- Oled display
- Closing the console
Tutorial in pictures
1. Main board - 1 part

2. Insert the nuts into the lower hexagons by pushing them in with the other side of the screwdriver.

3. Screw the main board in, you will need to hold the nut on the other side, so it is best to stand up the console and screw it in with one hand and hold the nut with other hand to keep it from turning.

4. Put the push button in the push button hole and secure it with the printed pad, nut and screw from the other side.

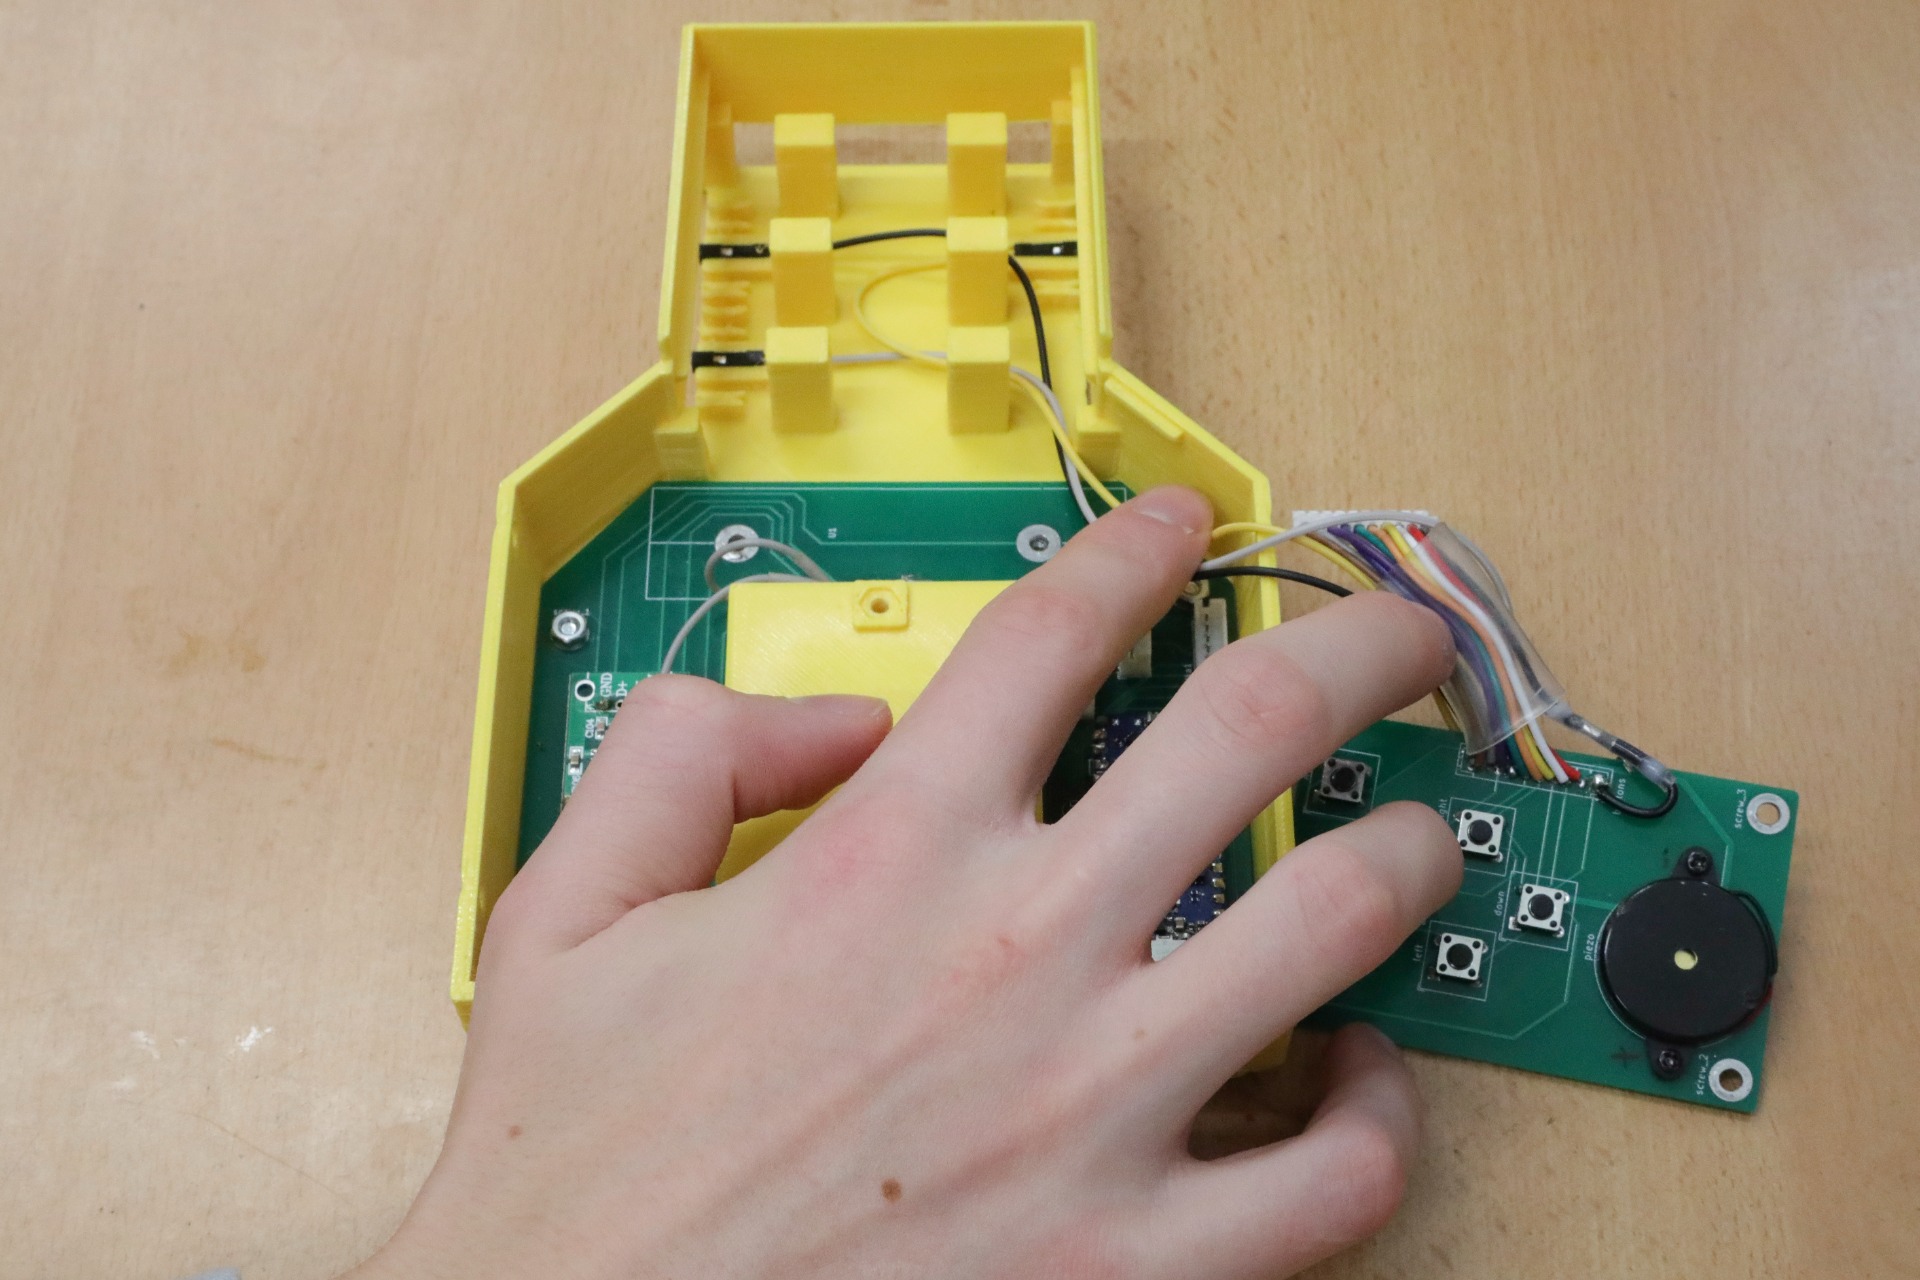
5. 16x16 display and button board - 2 part

6. Insert the debug cables into the debug cable compartments.

7. Carefully hold the cables so that you can slide the display under the grooves.

8. Slide the display in. Make sure it is under the grooves.

9. Insert the nut into the upper hexagon by pushing it in with the other side of the screwdriver.

10. Plug the display cables and the button board cables into the connectors.

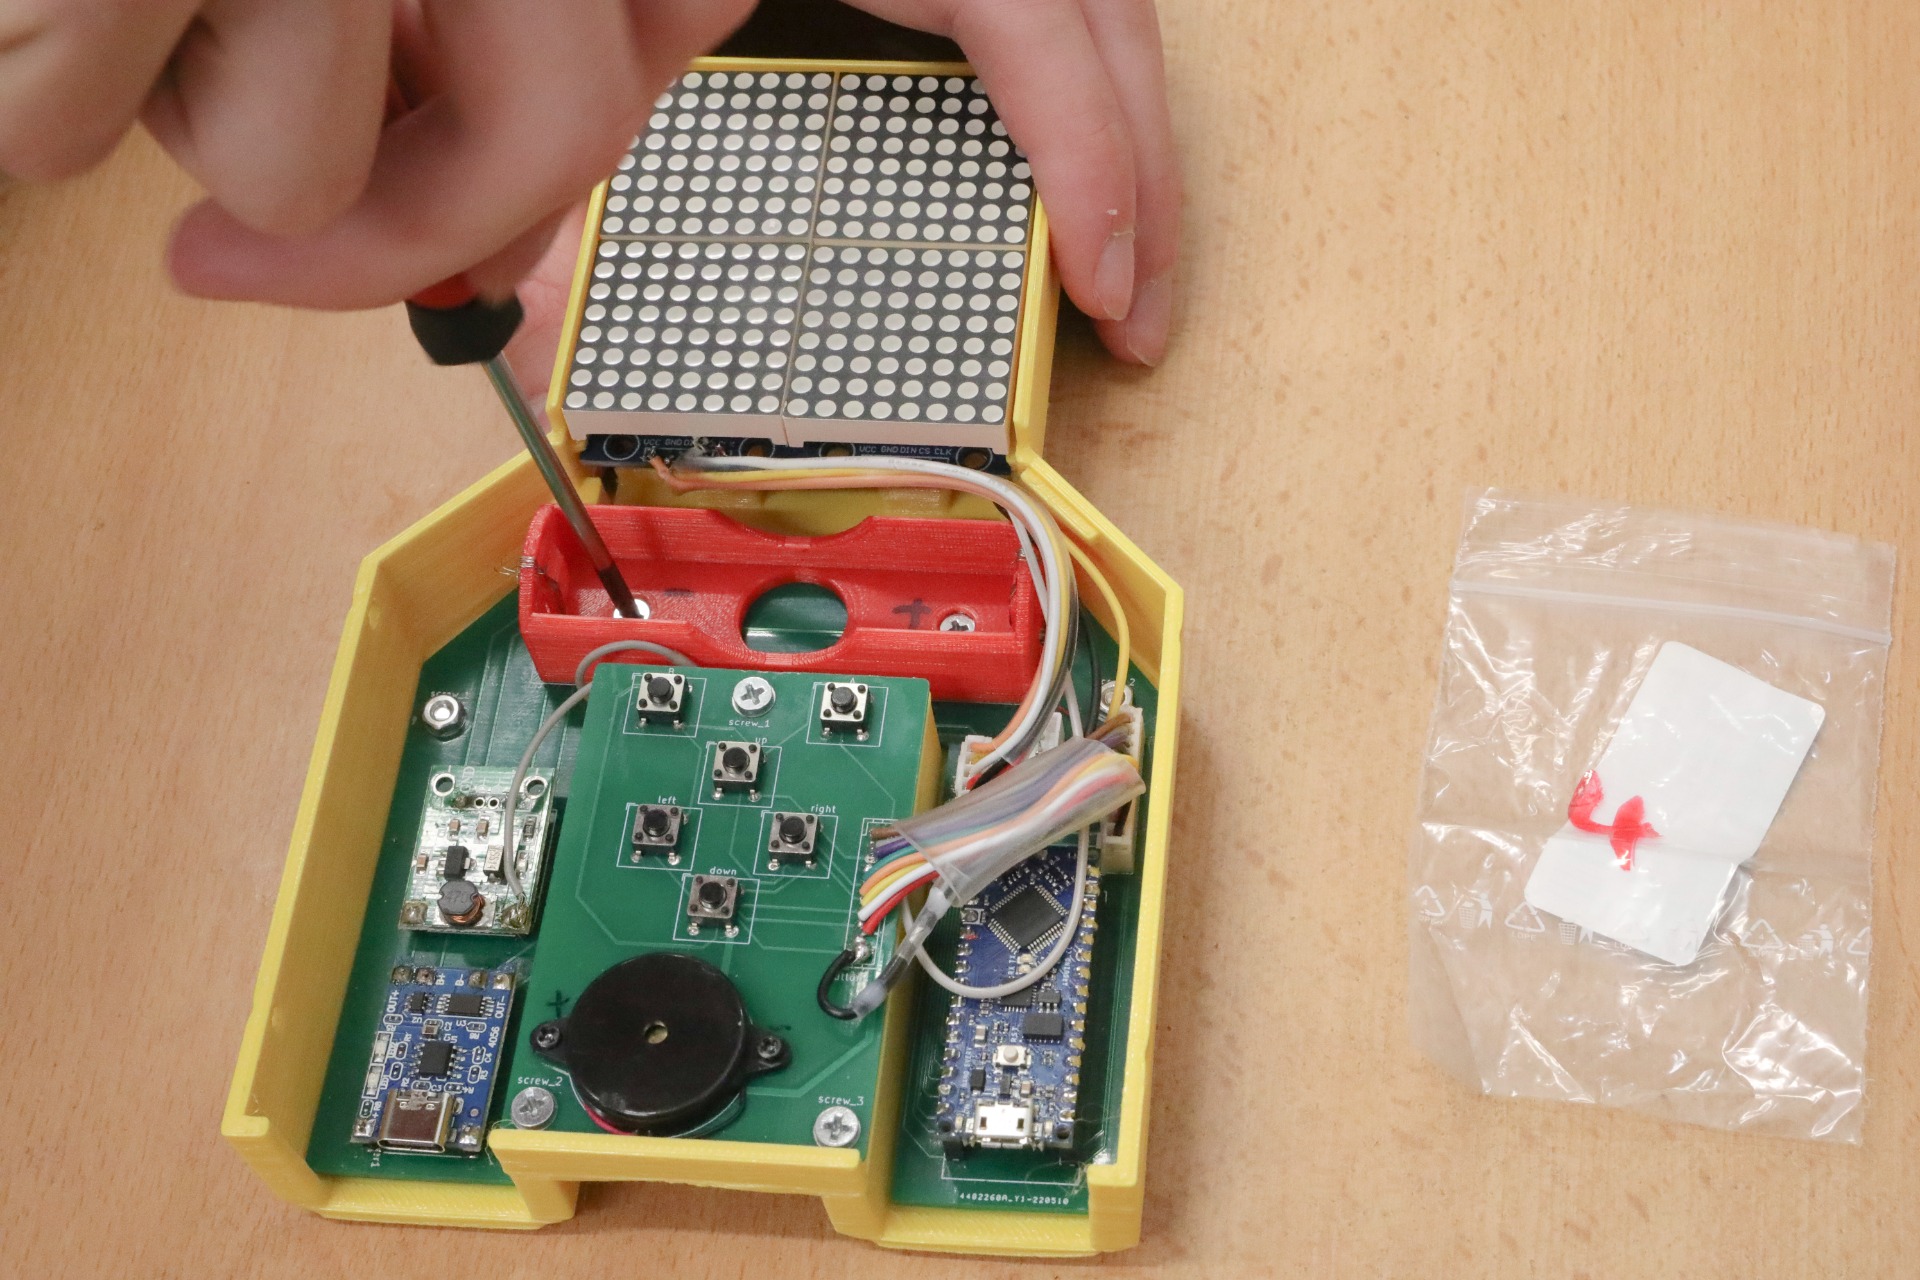
11. Screw in the button board.

12. Battery - 3 part

13. Screw the battery holder into the main board


14. Put the battery in the battery holder

15. Oled display - 4 part

16. Using a little pressure and sliding the display, insert it into the top plate.

17. Put the 3d printed tablet in the tablet hole (as in the picture) so that the display does not fall out.

18. Closing the console - 5 part

19. Plug the Oled display cables into the connector.

20. Put the flexible part of the buttons in the button locations. Arrow up as in the in the picture.

21. Screw the top part to the bottom part. Depending on how much you tighten it, you can influence how much the bottom part bends. It should look like in the picture


22. Push the debug cable cap into the debug groove. You can help yourself with a screwdriver to keep it from falling out.


